
Getting Started
Organization Settings
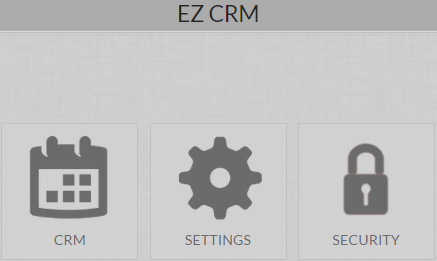
Start setting up your CRM, by first creating a company and setting your company’s location. First, login to your eZnet CRM account and go to SETTINGS, which will take you to the Company Settings page where you can Edit Company Profile, input your Company Location and manage your Dashboard.
This selection will take you to the COMPANY SETTINGS page where you can Edit Company Profile including name, address, description, logo etc.
.PNG)
Continue to edit your company’s profile by selecting Global Settings tab to track inventory, select currency, time zone and format the date.

After updating the information in the company settings, all these details will reflect in your organization’s CRM account.
eZnet CRM Dashboard
The dashboard is your control panel. It is your HOME for all functions in eZnet CRM. You can do everything from your dashboard, including: change company settings, account settings, add users as well as, add new opportunity, campaign amongst other features.
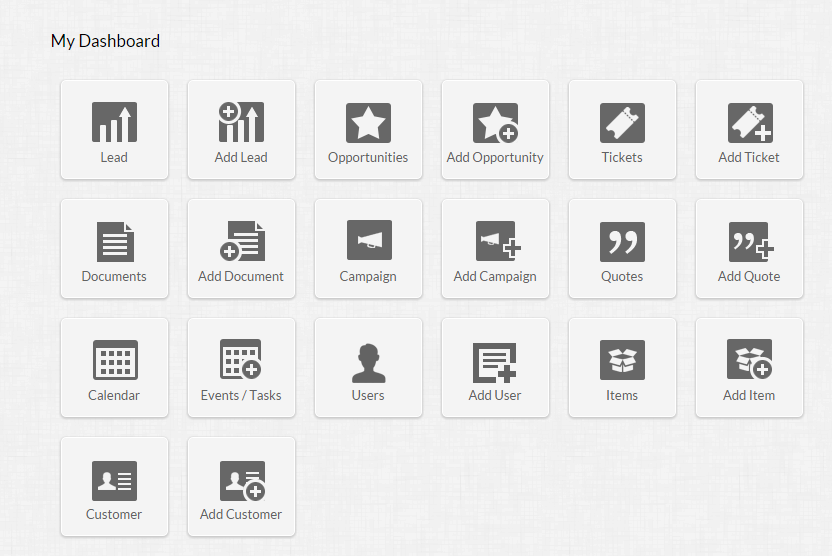
The dashboard is the main component of the CRM, and the modules are based on the roles/permissions of the user.
Users
In eZnet CRM, a user is anyone who can manage a record, their own or others shared by other users within your organization.
Administrators: Users who can access the entire system. There must be at least one Administrator for accessing all functions and features in your eZnet CRM account.
Example: CEO or any top officials or management.
Standard Users: Users who can access data according to the defined permissions (profiles) and roles defined by the Administrator.
Example: Sales Managers, Marketing Managers, Support Agents, etc.
Add User Accounts
Based on the responsibilities and tasks of the department or individual, you can create accounts that utilize the various functions in eZnet CRM.
![]() Users with limited access cannot add, change or edit USERS.
Users with limited access cannot add, change or edit USERS.
To add a new user in eZnet CRM, select the USER module item and ADD USER. Input the necessary fields indicated by an asterisk and submit, and a unique user code will automatically generate.
Users & Permissions
Users with the Manage User’s permission in their profile can access the users’ list and perform tasks such as adding users, modifying the user details, and view the apps and add-ons that are activated for each user.
With users and permissions, you create roles and distinguish objectives that you can track and report. Users can also be grouped and assigned multiple tasks and add other elements to a user such as EVENTS , LEADS or OPPORTUNITIES.
Delete User Account
To remove a user from eZnet CRM, proceed to the list in the manage USER’s module and select the red x.
By clicking the red x, information relating to the user will be deleted.
Deactivate/Activate Users
If you want to keep the information of the user, without them having access to the CRM, you have the option to deactivate their account.
Administrators can deactivate user accounts, which hinder the account from accessing eZnet CRM.
Roles
When setting up eZnet CRM, your users should have designated roles, based on the department and or responsibilities they have. First, the Administrator must create these roles in SETTINGS in order to assign them.
Example: Marketing, Sales, Supervisors, etc.
The roles given to each user determines what functions they will have on their CRM Dashboard. The Administrator also has the permission to edit the CRM dashboard of any user.
Permissions
Based on the duties and responsibilities of the eZnet CRM user, they will be able to utilize certain function based on the ROLES/PERMISSIONS given by the Administrator.
Create Groups
eZnet CRM allows Administrators to create groups of users assigned to a category.
Example: Interns, Web Design Team, Kitchen Staff, etc.
.png)
You can also activate/deactivate groups and modify the users in the group.
* To know more about how eZnet CRM works, SIGN UP FOR FREE.